
When is a tarp the right stopgap?
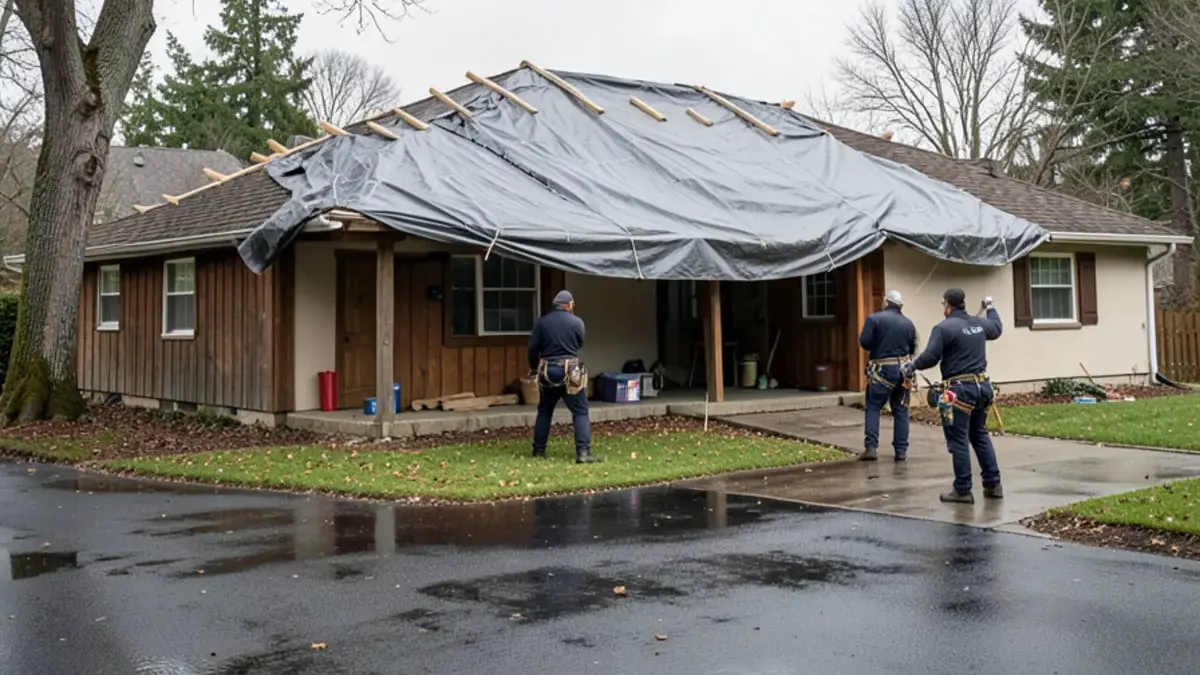
A tarp makes sense when there is an opening the rain can reach and the permanent fix has to wait for dry weather, materials or an insurance adjuster's visit.
- Good fit: missing shingles after wind, a branch puncture, cracked or slipped tiles, torn flashing at a chimney, or a leak with an unknown source that needs a dry roof to trace.
- Poor fit: a sagging or cracked rafter, a tree still resting on the house, or active high winds that make the roof unsafe to stand on.
- Not needed: a single stained spot with no active drip, where a scheduled inspection is the better first step.
Need a roof covered before the next band of rain? Phone (725) 745-8803; we'll check the schedule and tell you when a crew can come out.
Call (725) 745-8803How do roofers secure a tarp without causing new damage?
The difference between a tarp that works and one that makes things worse is almost entirely in the fastening. A professional emergency roof tarping job usually follows this order:
- Clear debris and broken material from the damaged area so nothing punctures the tarp from below.
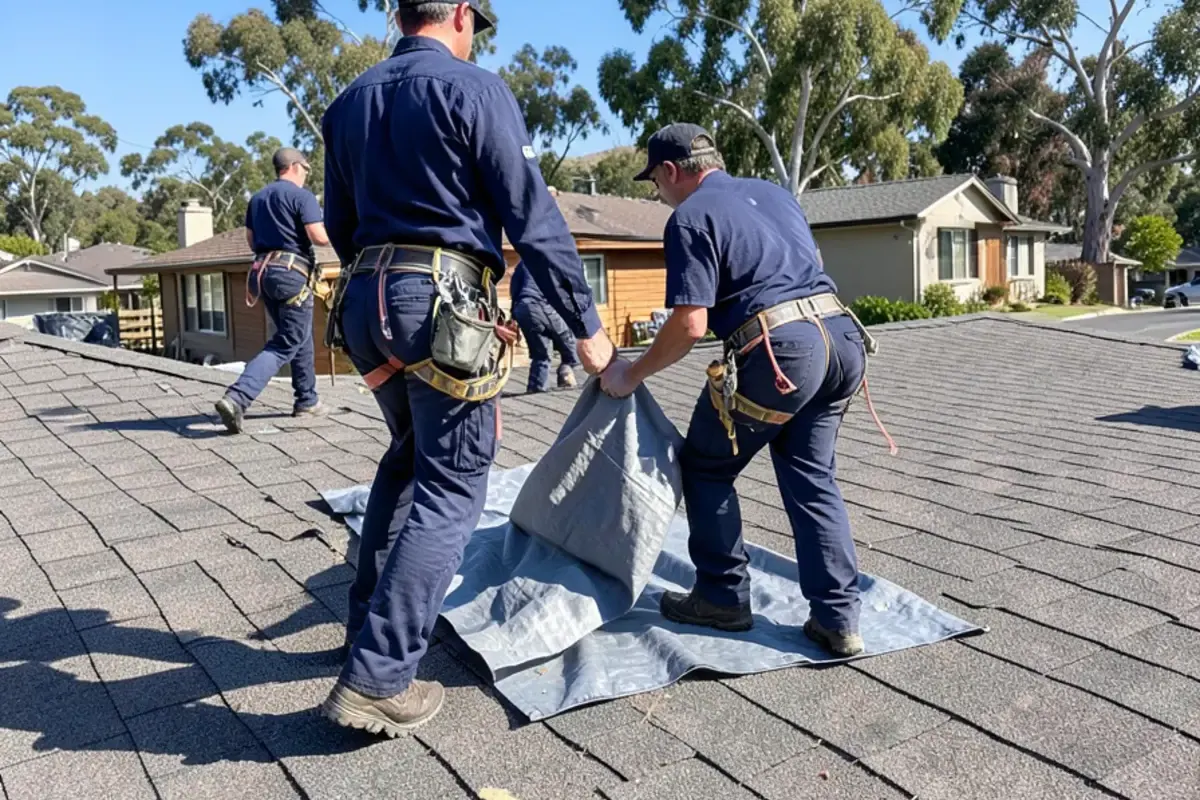
- Size the tarp to extend well past the damage on every side and carry over the ridge to the opposite slope, so water cannot run under the top edge.
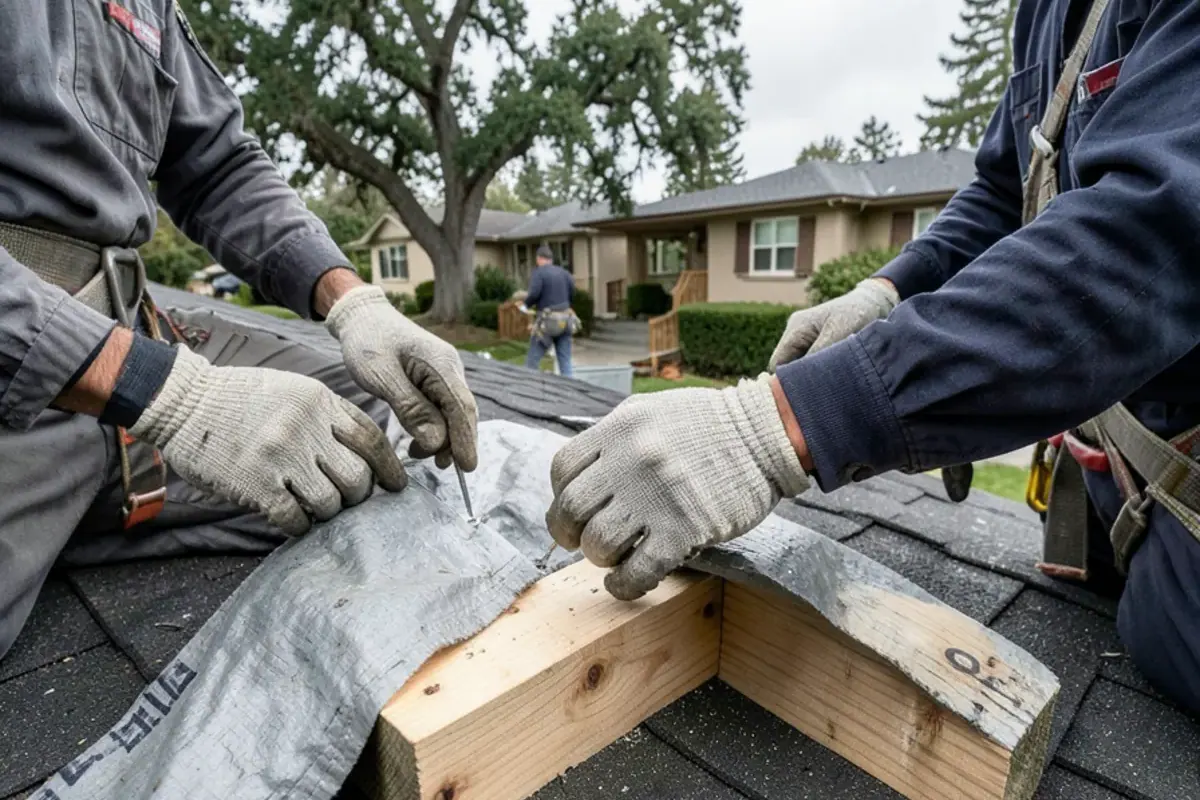
- Roll the tarp edges around 2x4 battens and fasten the battens, not the bare tarp, to the roof. This spreads the load and stops the wind from tearing the grommets.
- Keep fastener holes on the upslope side where the tarp overlaps them, or in areas that will be replaced anyway.
- Tension the tarp so it cannot flap. A loose tarp scrubs granules off shingles and loosens its own fasteners within a few windy nights.
How long can a tarp stay on a roof?
There is no single number. A well-anchored heavy-duty tarp can hold for weeks, and some last a few months, but sunlight breaks down polyethylene and every windstorm works the fasteners. In the South Bay, a tarp put on in December often faces several more storms before the roof dries out.
| Factor | Shortens tarp life | Extends tarp life |
|---|---|---|
| Tarp material | Light, thin blue tarps | Heavy-duty, UV-treated poly |
| Attachment | Nails or screws straight through the tarp | Edges wrapped and fastened with battens |
| Coverage | Top edge stops below the ridge | Tarp runs over the ridge to the far slope |
| Exposure | Full afternoon sun, open hilltop wind | Partial shade, sheltered lot |
| Monitoring | Nobody checks it after storms | Inspected after each windy night |
Choosing and sizing a roof tarp
Most failed tarps were either too thin or too small. Thickness is sold in mils (thousandths of an inch), and the light blue tarps sold for covering firewood are thin enough that a few weeks of sun and wind wear them through. For a roof, look for a heavy-duty, UV-treated tarp with reinforced edges and grommets.
- Labeled size versus real size: tarps are usually labeled by cut size before hemming, so the finished sheet is a few inches smaller in each direction. Buy for the finished size.
- Margin past the damage: the tarp should cover the opening plus a few feet on each side, so water running across the slope cannot slip under the edges.
- Over the ridge: the top edge belongs on the far slope, fastened to a batten there, so rain running down from above passes over the tarp instead of under it.
- Battens and fasteners: 2x4s along the top and sides with the tarp rolled around them, fastened with screws long enough to reach the deck.
A worked sizing example
Say a falling limb punched an opening about four feet wide, six feet below the ridge of a single-story ranch roof. The tarp has to cover those six feet of slope, the opening, a margin below it, and then carry over the ridge and a few feet down the back side. Add a few feet of margin on both sides and the sheet needed is noticeably larger than the hole suggests, often 12 by 16 feet or more once hemming loss is counted. Buying the bigger size costs little; a short tarp means a second trip up a wet roof.
Tile, shake and low-slope roofs need different tarping
Clay and concrete tile
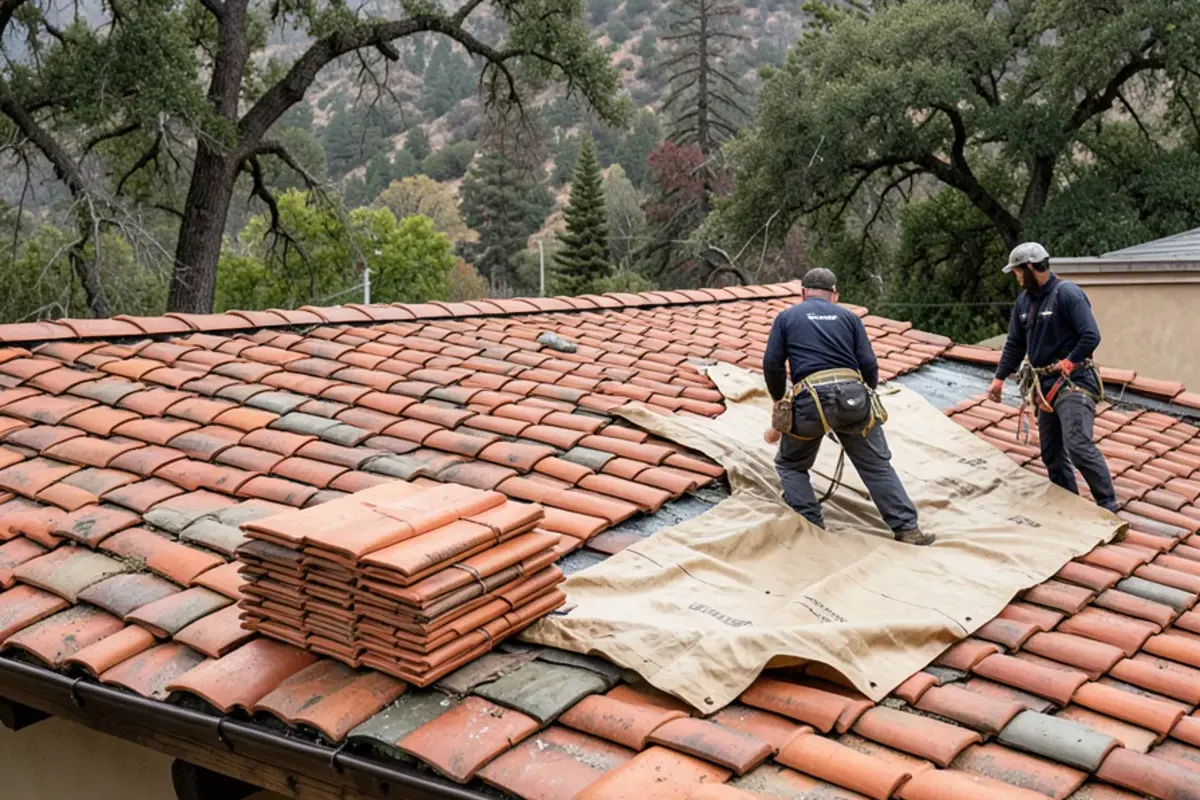
Tile cracks under foot traffic and under battens screwed down on top of it. Crews often lift and stack tiles in the damaged area, cover the underlayment, and weight the tarp in ways that avoid point loads. Many hillside homes in Los Gatos roofing neighborhoods carry tile, so this comes up often after winter wind.
Wood shake
Old shakes split easily. Fastening into areas that will be replaced, and padding battens where they cross sound shakes, keeps the tarp from creating a second repair.
Flat and low-slope roofs
Water does not run off quickly here, so a tarp must be sealed at its edges or weighted with sandbags, and it must not create a dam that ponds water against a parapet or drain.
What to check on a tarped roof after each windy night
Everything on this list can be done from the yard or the attic. If something looks wrong, do not climb up to fix it; call and have it re-secured.
- Corners and edges: any edge lifting or flapping means a batten has loosened or the tarp has torn at a grommet.
- Water pooling on the tarp: a sag that holds water adds weight and can pull the tarp down the slope.
- Debris on top: branches and wet leaves on the tarp can puncture it or trap water.
- The ceiling below: a stain that grows again after the tarp went on means water is getting past it.
- The attic: look at the underside of the deck below the tarp with a flashlight for fresh wet spots.
If a tarp fails during the night, go back to the indoor routine: buckets, a tray across the attic joists and power off to wet fixtures. A re-secure visit waits for the wind to drop, just like the first install.
From our roof visits: where tarps fail
Most tarp failures we see trace back to the top edge. When the tarp stops short of the ridge, water runs down the upper slope and straight underneath it. The second most common failure is fastening through the bare tarp. Wind lifts the plastic, the hole stretches, and within a storm or two the tarp is flapping from one corner.
We also see tarps held with bricks or loose lumber. Those objects slide in wind and can break tiles or fall from the eave. A tarp should be fastened, not just weighted, unless the roof type makes weighting the only safe choice.
Honest trade-offs of tarping
A tarp is money spent on something temporary, so we only recommend one when the gap before the permanent repair is real. If the forecast shows several dry days and the damage is small, it can make more sense to go straight to the repair. On tile roofs, lifting tiles to tarp the underlayment risks breaking a few more, so we stack them carefully and plan on some replacements. Fastener holes are the other cost; keeping them inside the area that will be repaired is the best compromise, but on a roof that is not being replaced a small number of sealed holes is the price of keeping the house dry.
Tarps, insurance records and the permanent repair
Many homeowners policies ask you to take reasonable steps to prevent further damage after a loss. Whether a tarp is reimbursed depends on your policy, so keep the invoice and photos of the roof before and after the tarp went on.
Once the weather clears, the tarp comes off, the roof is inspected and the damaged area is repaired or replaced. Our wider emergency roof repair service covers that sequence, and wind or branch damage found under the tarp is handled as storm damage roof repair, with a written, itemized estimate and photos of what was found. Homeowners close to our shop can learn more about roofing in Campbell.
After federally declared disasters in some regions, FEMA and the U.S. Army Corps of Engineers have run Operation Blue Roof, which places free temporary covers on qualifying primary homes. It is only switched on for specific declarations, so check FEMA's announcements for your area before counting on it.
Tarp going on soon? Call (725) 745-8803 and book the permanent repair at the same time.
Call (725) 745-8803