
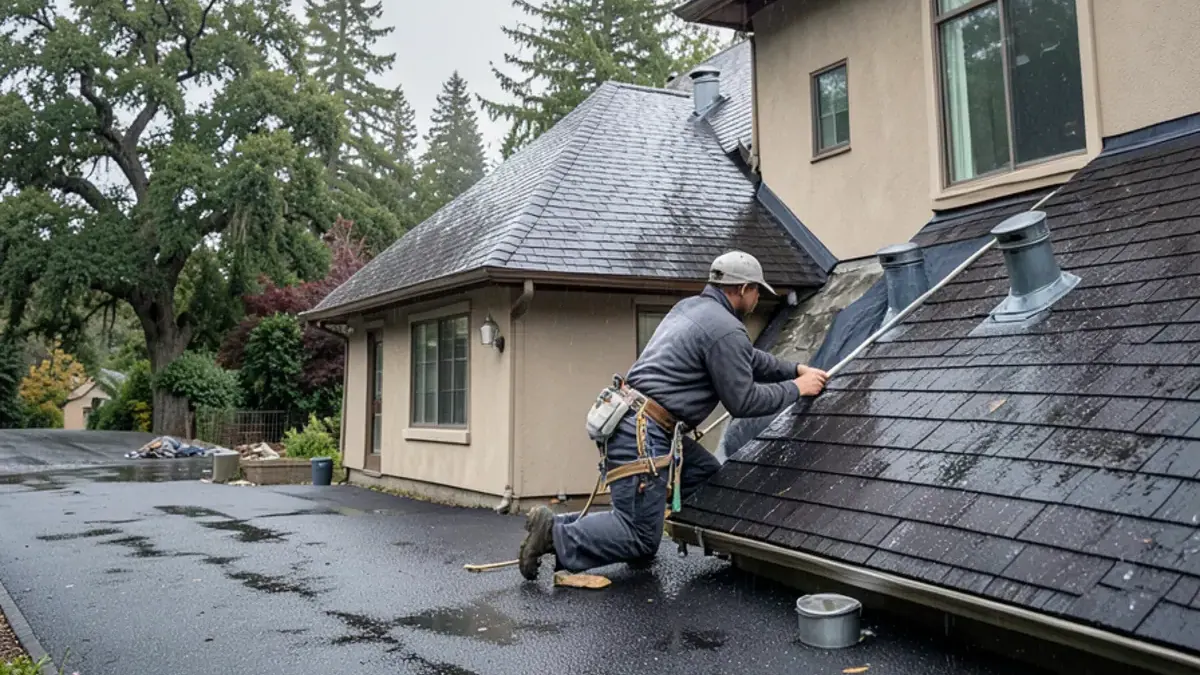
Common causes of roof leaks, in the order we check them
A roof field, the broad flat area of shingles or tile, sheds water easily. Trouble starts wherever something breaks that surface or where two planes meet. When we trace a leak, we check these spots roughly in this order:
- Pipe boots and vent jacks around plumbing stacks and exhaust vents.
- Wall and chimney flashing, including step flashing and counterflashing.
- Valleys, where two roof planes channel water into one line.
- Skylight curbs and seals.
- Old patches, especially tar or caulk smeared over a problem instead of fixing it.
- Exposed or backed-out nails and lifted shingle tabs.
- Roof edges and gutters where water backs up under the first course.
Leak you can't trace? We find the source first, photograph it and show you before any repair is priced.
Call (725) 745-8803Pipe boot leaks: small part, big stain
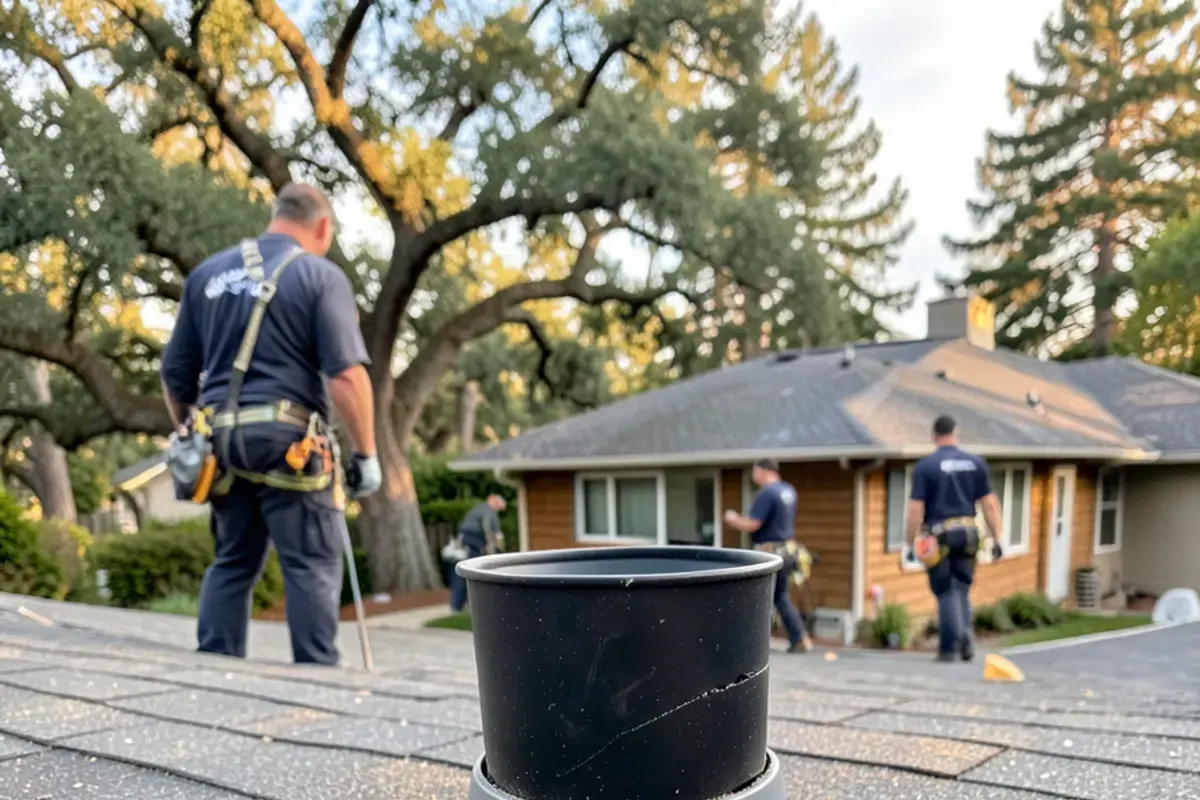
Most South Bay homes have several plumbing vents poking through the roof. Each one is sealed by a boot: a metal or plastic flange with a rubber collar that hugs the pipe. Our long, hot summers dry that rubber until it cracks, and the first heavy storm of the season drives water down the pipe and into the ceiling below.
Pipe boot leaks often show up as a stain near an interior wall, because plumbing vents usually rise inside walls. The fix is simple: replace the boot, or slip a new collar over a sound flange, and reseat the shingles around it. Animal damage counts too. Squirrels and rats chew rubber collars, so a boot can fail long before it should.
Flashing leaks at walls, chimneys and dormers
Flashing is the bent metal that turns water away from any spot where the roof meets something vertical. On older homes it is often the original metal, sealed and resealed with mastic over decades. Common failures include:
- Step flashing behind stucco or siding that was never replaced during an earlier reroof.
- Counterflashing pulled loose from a chimney's mortar joints, a frequent weak spot on brick chimneys in earthquake country.
- Kick-out flashing missing at the bottom of a roof-to-wall joint, sending water into the wall instead of the gutter.
- Headwall flashing above a porch roof or a lower addition, where caulk has shrunk away.
Caulk is not flashing. Proper roof flashing repair means removing the shingles around the joint, installing new metal that laps correctly, and sealing only where sealant belongs.
Why roof valley leaks show up in heavy storms
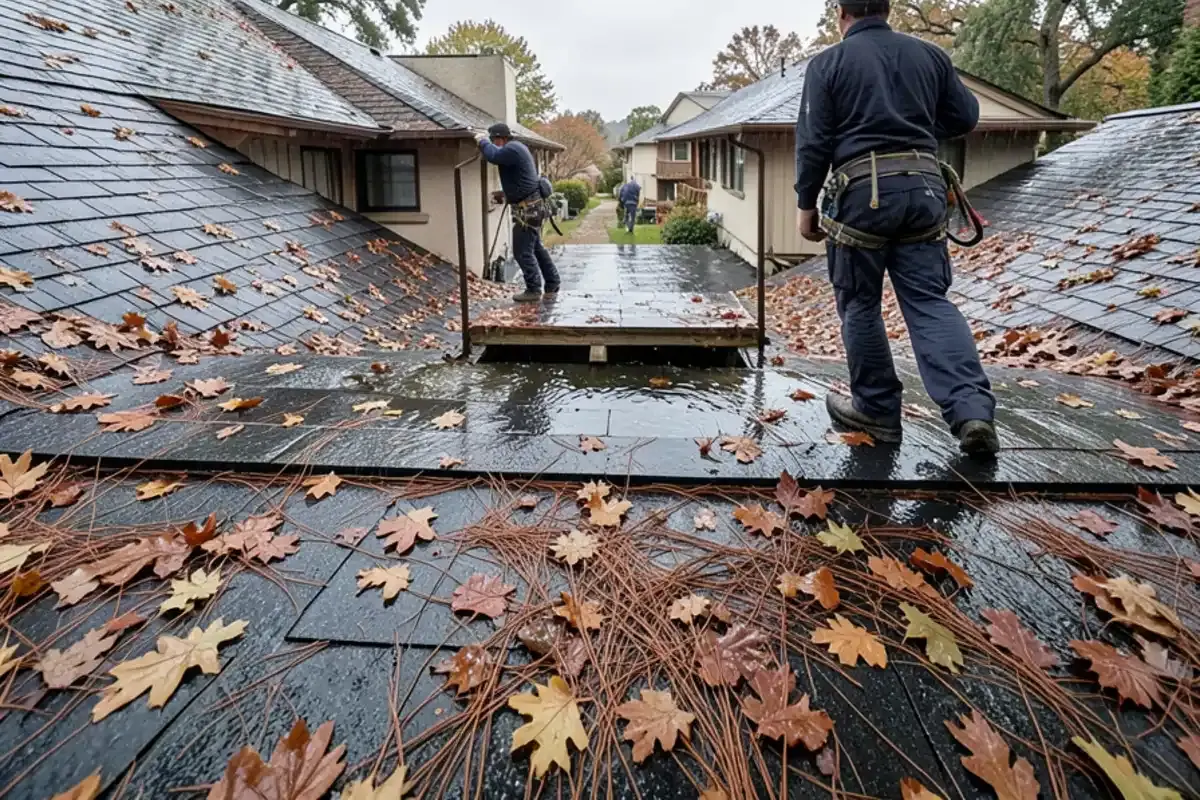
A valley carries the runoff of two roof planes. In a light rain it copes. In an atmospheric-river storm, when rain falls hard for hours, a valley can overflow its lining, especially if leaves and needles have built a dam halfway down. Closed-cut shingle valleys with a worn center line and open metal valleys with rusted or short-lapped seams are both common sources.
Valley leaks tend to appear only in the hardest rain, which makes them confusing. If your ceiling stays dry through most of winter but stains during the big storms, a valley or a roof-to-wall joint is a strong suspect.
Matching the stain to its source
Water travels along rafters and the top of drywall before it drips, so a stain is a clue, not an address. This table shows where the source often turns out to be.
| What you see inside | Where we look first | Typical repair |
|---|---|---|
| Stain near an interior wall or bathroom | Plumbing vent pipe boot | Replace boot and reseat shingles |
| Damp drywall at an exterior wall | Step or kick-out flashing | Remove courses, install new flashing |
| Drip only in long, heavy storms | Valley or roof-to-wall joint | Clear debris, re-line or rebuild valley |
| Stain around a skylight well | Curb flashing or seal | Re-flash curb or replace unit |
| Small rusty spots in a line | Exposed or backed-out nails | Pull nails, seal and patch properly |
| Ceiling stain near the eaves | Gutter backup or failed drip edge | Clear gutters, repair edge metal |
Old patches, skylights and worn shingles
A dark smear of roofing cement on a roof usually marks a past leak. Those patches harden and crack, and they hide what was underneath. When we find one, we remove it and fix the actual detail below.
Skylights are a category of their own. Their curb flashing, gasket seals and glazing each fail differently, and condensation can mimic a leak. Worn shingles come last on this list for a reason: by the time the field itself leaks, the roof is wearing out and the conversation shifts from repair to replacement.
Where leaks start on shingle, tile and low-slope roofs
The checklist above holds for most houses, but each roofing material has its own favorite failure points. Knowing what is on your roof shortens the search.
| Roof type | Where leaks usually start | Why |
|---|---|---|
| Asphalt shingle | Pipe boots, step flashing, nail pops, lifted tabs | Rubber and sealant age fastest; wind breaks the seal strips |
| Concrete or clay tile | Worn underlayment, cracked tiles, valley metal, eave closures | Tile sheds water, but the felt underneath is what keeps it out |
| Wood shake | Split shakes, gaps between courses, rusted valley metal | Shakes dry, cup and split in our long summers |
| Low-slope or flat | Seams, ponding spots, parapet and scupper corners | Water sits instead of running off, so small gaps leak |
Shingles on a roof that is too flat
A common leak on ranch-home patio covers and family-room additions is shingles laid on a pitch they were never meant for. The California Residential Code allows asphalt shingles only on slopes of 2:12 or steeper, and slopes between 2:12 and 4:12 need a double layer of underlayment. Many owner-built additions from past decades fall short of that, so wind-driven rain backs up under the tabs. The lasting fix is a low-slope membrane on that section, not more shingles.
Cracked tile that started with a footstep
Concrete and clay tiles carry their load best near the lower end, where they overlap the course below. A foot placed in the middle of an unsupported tile can crack it, and the crack may not leak for a season or two. Tile roofs that have had satellite, antenna or solar work often show a trail of broken pieces along the path someone walked.
Leaks around solar mounts, satellite dishes and other added equipment
Every hole drilled after the roof was finished is a possible leak, and many of them were drilled by someone other than a roofer. We look closely at these spots on any house with rooftop equipment:
- Solar racking attachments: each mount should sit on its own flashing that tucks under the course above. Sealant alone around a lag bolt tends to fail as the roof heats and cools.
- Satellite dish mounts: often lagged straight through shingles with a dab of sealant, and the holes stay behind when an old dish is removed.
- Cable and conduit runs: clips nailed through the roof surface and wires pinched under lifted tabs.
- Exhaust hoods and vents added in a remodel: a new bathroom fan or range hood cap cut in without proper flashing.
If panels sit over the leak, the array may need to come off before the roof underneath can be repaired. We can repair the roof itself, but the panel removal, reinstall and any solar warranty questions belong with the solar company that installed the system.
From our roof visits: patterns in Silicon Valley leaks
The first big storm of the season brings the most calls, because six months of sun have done their quiet damage to rubber and sealants. Inspecting vents and flashing in early fall catches many of these before the rain does.
Homes in San Jose and Santa Clara were often reroofed once already, and earlier crews did not always replace wall flashing. Shingles get changed and old metal stays. That leftover metal is one of the most frequent things we find behind a leak.
Leaks are rarely where the homeowner expects. We run water tests in sections and work upward from the lowest suspect, because spraying the whole roof at once proves only that the roof leaks. That method is the core of our roof leak detection work, and it is why we share photos of the source before we repair it.
Sectioned water testing has trade-offs, and we explain them before we start. It is slow, it can add a little water to a ceiling that is already stained, and some leaks need a few shingles or tiles lifted before the entry point is visible. A few wind-driven leaks will not show under a hose at all, and then the honest answer is to check the attic during the next real storm before anyone spends money on a guess.

Fix the entry point first, then the ceiling
The order of work matters. A ceiling repaired before the roof is fixed will stain again, and a roof fixed without drying the attic can leave hidden mold behind.
- Find and photograph the entry point, then make the permanent repair, such as a new boot, new flashing, a rebuilt valley or skylight leak repair.
- Pull out insulation that stayed wet and let the sheathing and drywall dry fully.
- Watch the area through the next rain to confirm the stain does not grow.
- Only then prime the stain with a stain-blocking primer and repaint, so a dry, sound ceiling is what you cover.
If the search turns up failures in many places rather than one, that is useful information too. It is the point where a written estimate should show a repair price and a replacement price side by side.
Have a stain that keeps coming back after patches? We'll trace it to the source and photograph it before quoting the repair.
Call (725) 745-8803